Using Dev Containers to build a transportable blog writing environment
- Published on
- Reading time
- Authors

- Name
- Simon Waight
- Mastodon
- @simonwaight
Earlier in 2023 I wrote about how I moved my blog from a Wordpress-hosted solution to one running on a Next.js open source template running on Vercel.
I've really been enjoying editing using just markdown, but I had one outstanding item I was missing - how to easily preview new posts as I edit them without needing to push to a preview on Vercel?
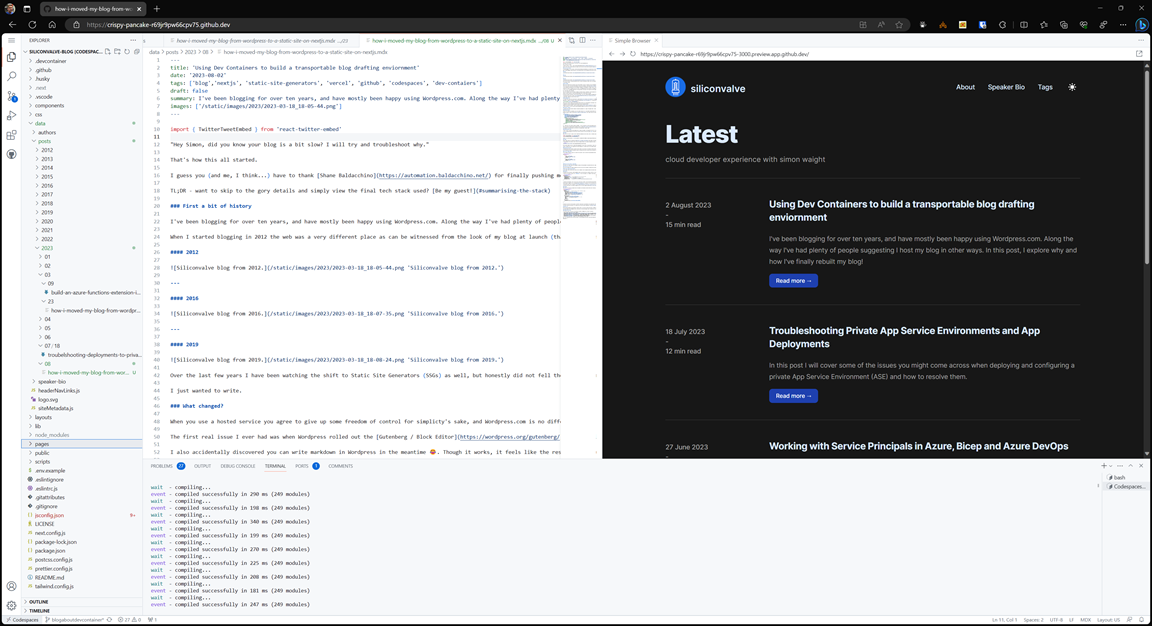
As of this post I'm pleased to say I have a solution, and it's both simple and fully featured. Here's a sneak peak!
So, how did I achieve it? Yes, the hint is in the post title! 😜
Creating a Next.js Dev Container
The main Dev Containers site has a set of templates that you can draw upon to get started, but if you take a look you'll see there isn't a Next.js one there.
Luckily for me, GitHub Codespaces, which uses Dev Containers, provides a Next.js template you can use, so I headed to the Codespaces templates page and selected the template as shown below.
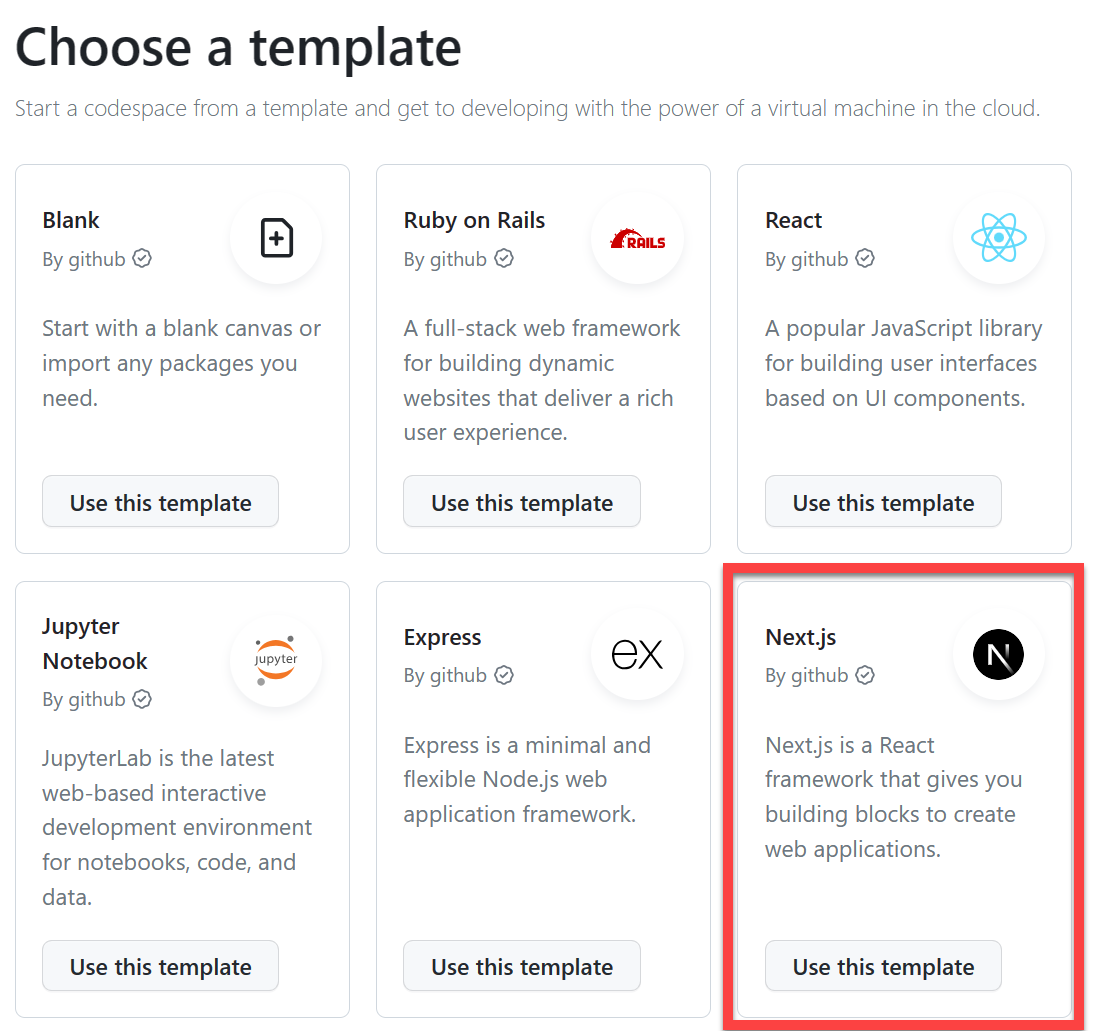
This creates a simple Next.js project which has the necessary configuration to run and debug Next.js-based solutions in a Dev Container and is exactly what I needed to add to my exitsing blog solution.
Adding the Dev Container to my blog
I started by creating a new branch on GitHub for this change. In this branch I did the following actions.
First, I created a .devcontainer directory and then added the below file which I copied from the template solution above. I made one addition by adding the MDX extension I use so it loads when I open the Dev Container in VS Code.
{
  "image": "mcr.microsoft.com/devcontainers/universal:2",
  "hostRequirements": {
    "cpus": 4
  },
  "waitFor": "onCreateCommand",
  "updateContentCommand": "npm install && npm run build",
  "postCreateCommand": "",
  "postAttachCommand": {
    "server": "npm run dev"
  },
  "customizations": {
    "codespaces": {
      "openFiles": ["pages/index.js"]
    },
    "vscode": {
      "extensions": ["unifiedjs.vscode-mdx"]
    }
  },
  "portsAttributes": {
    "3000": {
      "label": "Application",
      "onAutoForward": "openPreview"
    }
  },
  "forwardPorts": [3000]
}
Next, I wanted to ensure that I have the best experience I can in Visual Studio Code, so I added a .vscode folder and copied the launch.json file from the template as well.
{
  "version": "0.2.0",
  "configurations": [
    {
      "name": "Run application",
      "type": "node",
      "request": "launch",
      "cwd": "${workspaceFolder}",
      "console": "integratedTerminal",
      "runtimeExecutable": "npm",
      "runtimeArgs": ["run", "dev"],
      "skipFiles": ["<node_internals>/**"]
    }
  ]
}
I closed the repository in the Codespace and reloaded it so that the Dev Container definition was used. The Dev Container is built and my environment loads with my blog immediately open in preview mode in the 'Simple Browser' inside the Codespace! I can also choose to open the same URL in a separate browser is I wanted to.
Now as I edit my blog posts I can preview the content and ensure I'm not breaking anything, all without needing to run the blog locally or to push to Vercel to view the preview. Perfect!
The only issue I've found is the Simple Browser that is available as part of Codespaces doesn't properly manage reloads - it returns to the main blog page instead of the post I'm editing. It's not a showstopper as I can always open the site in a dedicated browser tab and know that will track state just fine.
Are you doing anything interesting with GitHub Codespaces or Dev Containers? If so, drop a comment below!
Happy days! 😎